
In this navigation guide, we walk you through the entire mobile app experience. If you have a specific question, browse the frequently asked questions or use the search box and enter a question or topic.
If you still need help, please contact the DOE help desk by logging into ServiceNow and submitting an incident ticket at http://help.hidoe.org. Or, call the IT help desk, Monday through Friday from 7:45 a.m. to 4:30 p.m. at (808) 564-6000. Neighbor islands, please use the HATS line at 8-1-808-692-7250.
Contents
- Log in to the app
- Add a shortcut to the app on your mobile device
- Change your user preferences
- Create a service log
- Search for a service log
- Edit a service log
- Approve a service log (supervisors only)
- Copy a service log
- Delete a service log
- Log out of the app
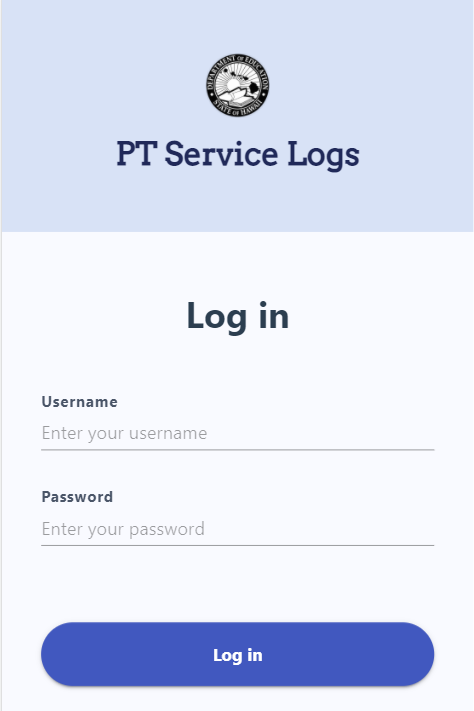
Log in to the app
To log in to the mobile app:
- Using your mobile device, open an internet browser, such as Safari or Chrome.
- Enter the following web address: pt.ecsssonline.k12.hi.us
- Enter your eCSSS username and password, then select Log in.
If you need to change your username or password, please contact the DOE help desk.
Add a shortcut to the app on your mobile device
To save time, you can add a shortcut on your mobile device so that you don’t have to enter the web address every time you need to log in.
For iPhones and other iOS mobile devices
- Open an internet browser, such as Safari or Chrome, and go to pt.ecsssonline.k12.hi.us
- Select the share icon
 , then select Add to Home Screen
  .
. - On the Add to Home Screen window, select Add.
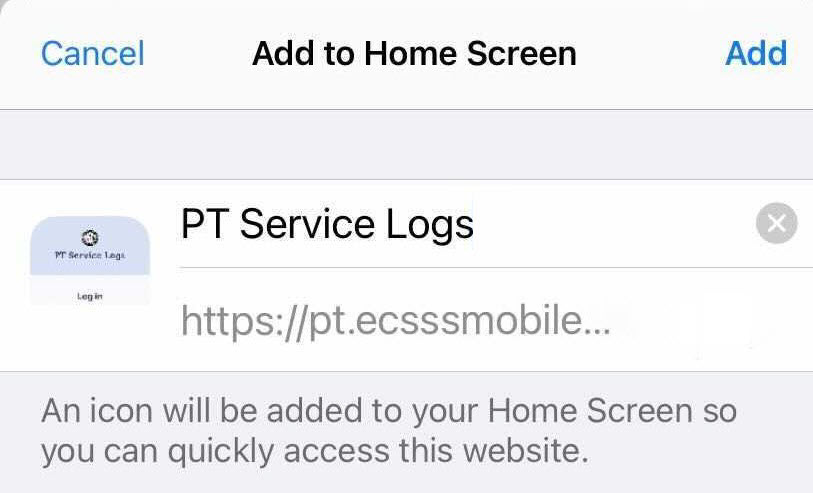
- Go to your home screen to view and move the shortcut icon.
For Android devices
- Open an internet browser, such as Chrome, and go to pt.ecsssonline.k12.hi.us
- Select the ellipses
 , then select Add to Home screen.
 - On the Add to Home screen window, enter a title for the shortcut (optional), then select Add.
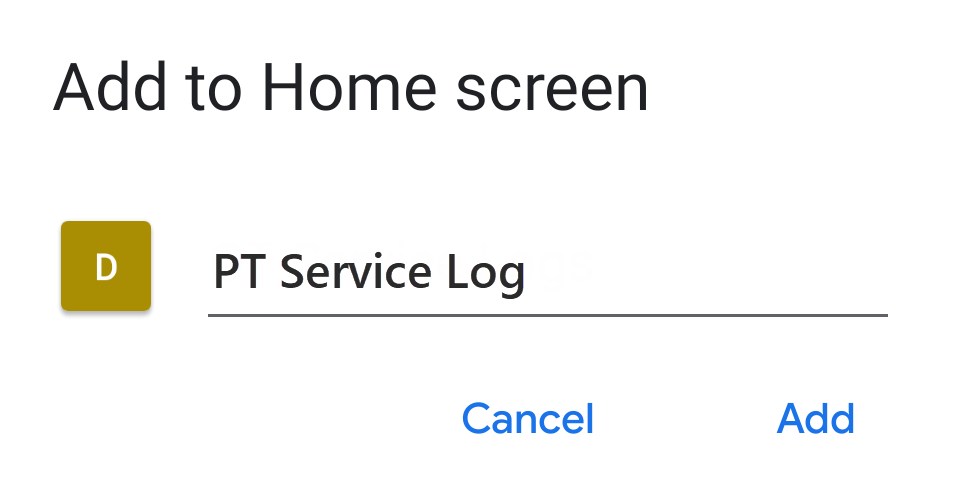
- Either select and hold the icon to manually place the shortcut on your Home screen or select Add Automatically.
Change your user preferences
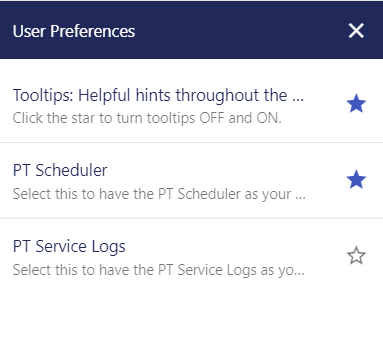
In User Preferences, you can:
- Turn tooltips on and off. Tooltips appear when you select or hover over certain fields, and they provide helpful hints to complete those fields. Note that tooltips may not appear on some mobile devices.

- Set your default view on login. Note that you may only have one option depending on your role as a provider or scheduler.
To change your user preferences:
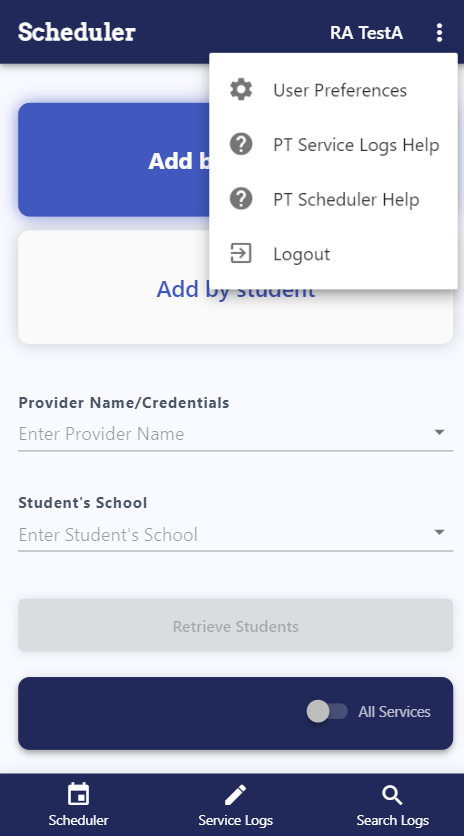
- Select the User Menu, then User Preferences.
- Select the star to turn a user preference on or off.
Create a service log
To create a service log, follow these steps:
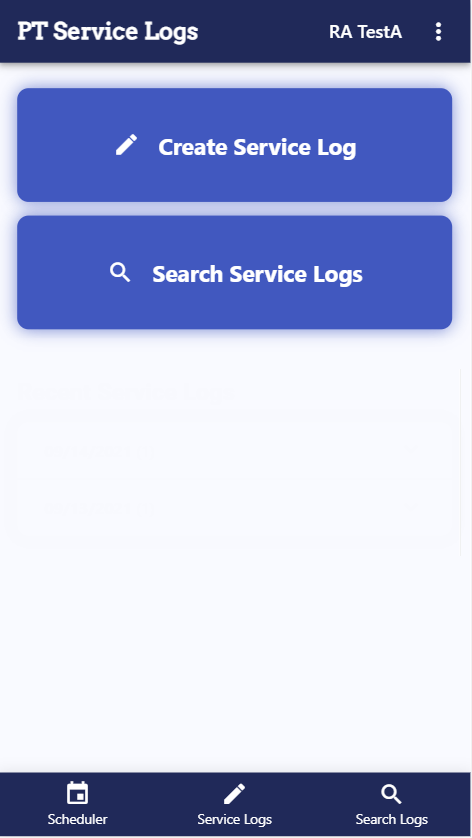
- Go to the Service Logs dashboard and select Create Service Log.
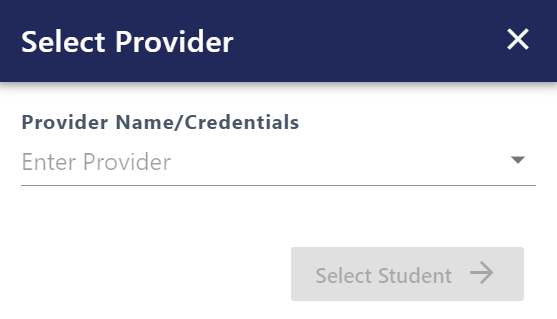
- In the Select Provider window, start typing the name of the provider. Choose the correct provider from the list, then Select Student.
- In the Select Student window, use Find Student or Filter School to search for a student, or scroll down the list. Use the Sort options to list students in order by name, school, or last service date. Select the checkbox next to each student, or choose Select All. When finished, select Create Service Log.
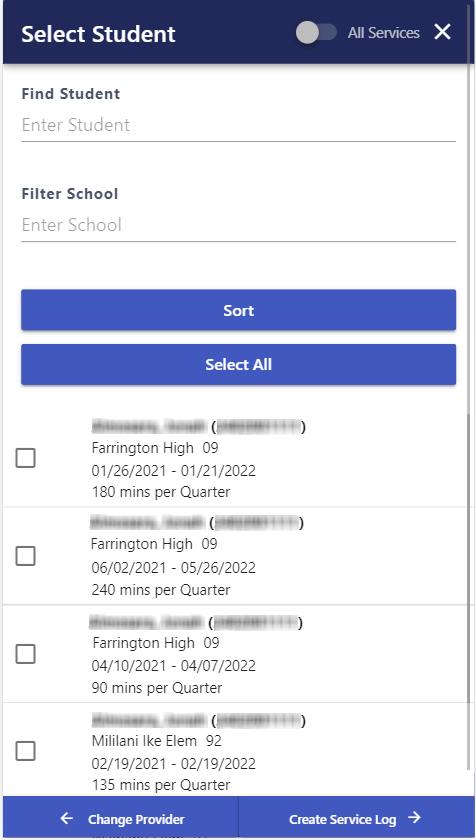
- The Add Service Log window appears with a tab for each student.
- If you selected more than one student, you must complete the current student service log before navigating to the next.
- Select the X on the current student tab to cancel the service log for that student.
- You cannot add additional students from the Add Service Log window. Complete and submit logs for the selected students, then go back to Create Service Log to create service logs for additional students.
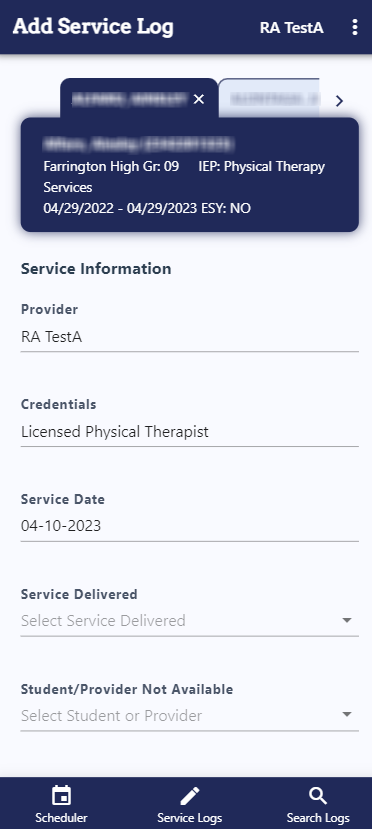
- Complete the Service Information fields.
- Select a Service Delivered from the list.
- If you select Consultation, Observation, or Parent Training, the service minutes are not Medicaid reimbursable.
- If a session was not provided, select Student or Provider from Student/Provider Not Available.
- If Student, complete Reason Student Not Available.
- If Provider, select Service Alternative, then complete either Parents Informed? or Alternate Description.
- You do not need to enter the Start Time, End Time, Service Length, Service Delivered, Group Size, Delivery Mode, or Documentation of Service and Student Performance, as those fields will be hidden.
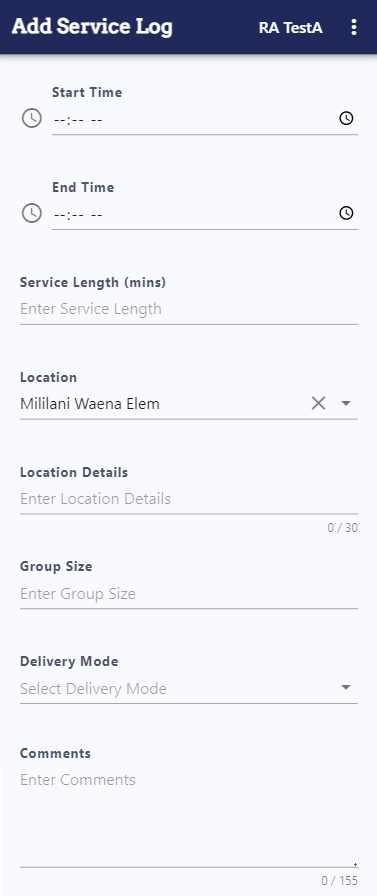
- Enter a Start Time and End Time; or enter a Start Time and Service Length.
- Service Length is automatically calculated when you enter a Start Time and End Time.
- End Time is automatically calculated when you enter a Start Time and Service Length.
- Location Details is an optional field to document additional information about the service location.
- Enter the Group Size, if applicable.
- Select a Delivery Mode from the list. If you select In-Person, you will have the option to enter a Classroom Number. If you select Telepractice, you will be required to enter the Provider Location.
- Select a Service Delivered from the list.
- Complete the Documentation Of Service and Student Performance fields. Note that these fields are hidden when the student or provider is not available.
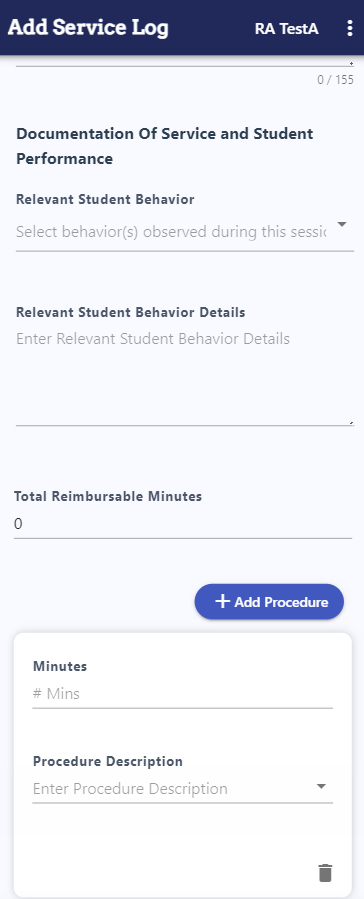
- Select all applicable behaviors from the Relevant Student Behavior checkbox list. If a behavior is not on the list, select Other and type a brief description in Relevant Student Behavior Details.
- To document procedures, enter the number of Minutes and select the Procedure Description.
- If you provided a procedure that is not in the Procedure Description list, type a brief description, and the field will automatically categorize the procedure as “Other.”
- “Other” procedures are not considered Medicaid reimbursable and do not count toward the Total Reimbursable Minutes.
- Total Reimbursable Minutes is automatically calculated and read-only. This field displays the sum of minutes for Medicaid-reimbursable procedures.
- If the Service Delivered is Consultation, Observation, or Parent Training, the Total Reimbursable Minutes is zero because these delivery methods are not Medicaid Reimbursable.
- For all other Service Delivered values, the Total Reimbursable Minutes is the sum of all procedure minutes, excluding procedures categorized as Other.
- The Total Reimbursable Minutes must be equal to the Service Length minutes.
- Select +Add Procedure and scroll down to enter another procedure.
- Select the Trash icon to delete a procedure.
- Select the Trash icon to delete a procedure.
- Objective Note
- Select an Objective, then check one or more Implementation values. If an objective or implementation is not on the list, select Other Objective or Other Implementation, then enter a brief description in Other Objective Description or Other Implementation Description.
- Select the +New Objective button to add up to three Objective/Implementations sections.
- Select the Trash icon to delete a section.
- At least one Objective and Implementation set is required to save a record.
- Document any additional information in Objective Details.
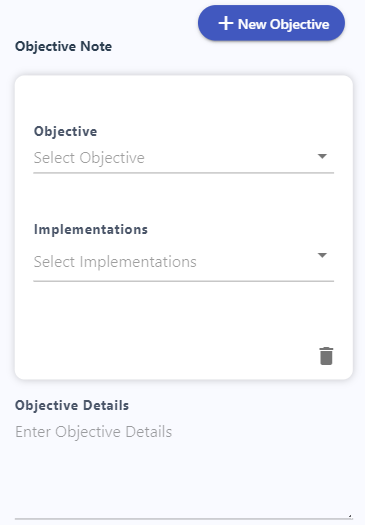
- Document any additional information in Objective Details.
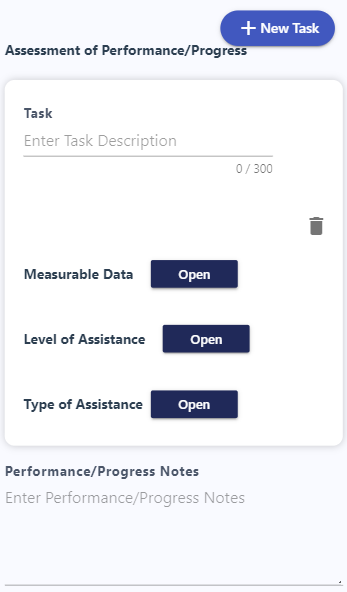
- Assessment of Performance/Progress
- Enter a brief description of the Task. Then, complete the Measurable Data, Level of Assistance, and Type of Assistance sections.
- Add any other pertinent information in Performance/Progress Notes.
- Select +New Task to document up to three tasks with performance and progress data.
- Select the Trash icon to delete a section.
- Note that at least one Task is required to save a record.
- Measurable Data: Select Open to view and complete applicable measures related to the task.
- Completed task __ out of __ times
- Enter the number of times the task was completed and the total number of attempts at the task.
- Completed task in ___ minutes
- Enter the number of minutes it took the student to complete the task.
- Completed task with ___ % accuracy
- Enter the student’s accuracy rate for this task
- Completed task __ out of __ times
- Level of Assistance: Select Open to view and complete applicable level(s) of assistance related to the task.
- Required assistance __ out of __ times
- Enter the number of times the student needed assistance and the total number of attempts at the task.
- Required assistance for ___ minutes
- Enter the number of minutes the student required assistance for this task.
- Required assistance ___ % of the time
- Enter the rate of assistance the student required for this task.
- Select None if the student didn’t require assistance for this task.
- Required assistance __ out of __ times
- Type of Assistance: Select Open to view and select all applicable type(s) of assistance for the task.
- Adult
- Reminders
- Other (enter a brief description)
- Document any additional information in Performance/Progress Notes.
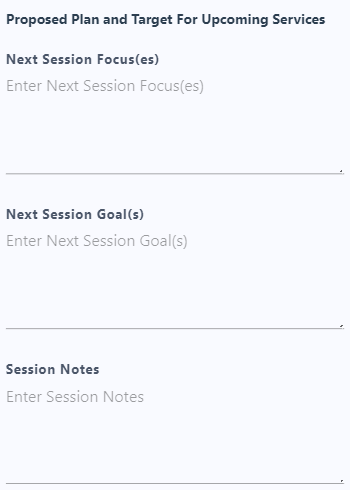
- Proposed Plan and Target for Upcoming Services
- Complete Next Session Focus(es) and Next Session Goal(s) to document plans for future sessions. At least one of these fields is required to save the record.
- Session Notes
- Document any additional information about the student’s session here.
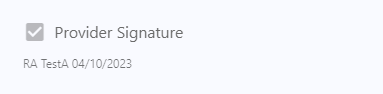
- Select the Provider Signature checkbox, and your username and today’s date appear as your digital signature.
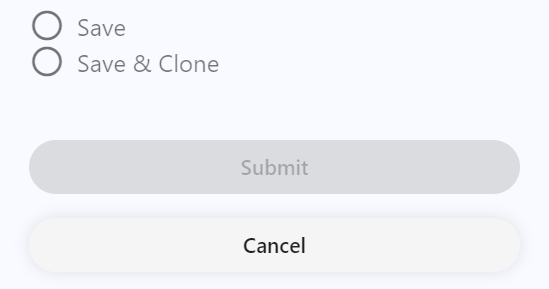
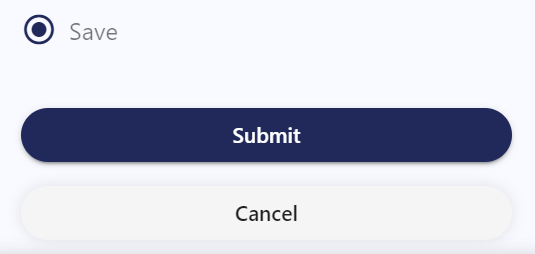
- The Submit button is disabled by default. To submit a service log, select one of the available save options to enable the Submit button.
- Select Save, then Submit to submit the service log and view your Submission History.
- Select Save & Clone, then Submit to save the current service log and create a copy. The copy simplifies data entry for a similar service log for the student. Note that the Service Date is cleared in the cloned record and must be manually entered. You can modify the copied service log before submitting. The Save & Clone option is not available when creating service logs for multiple students.
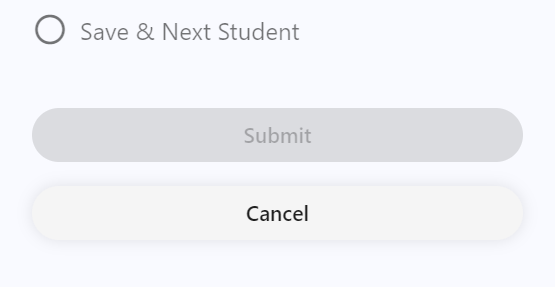
- If you are creating service logs for multiple students, select Save & Next Student, then Submit to save and submit the current student service log and open the service log for the next student.
- When you finish submitting all service logs, the Submission History window appears.
Search for a service log
To help with continuity of service, you may view all service logs for any student you have access to, including other providers’ logs. Only providers who are currently assigned to a student can view the student’s logs. Please contact the student’s school administration if you do not have access to a student you are assigned to.
To search for an existing service log, follow these steps:
- From the Service Logs dashboard, select Search Service Logs.
- Select Retrieve Logs to see all your service logs, or use the filters to narrow your search by student, service location, or dates.
Note that the Find Provider field is limited to the provider currently logged in. Admin users with access to multiple providers can filter by the providers they have access to.
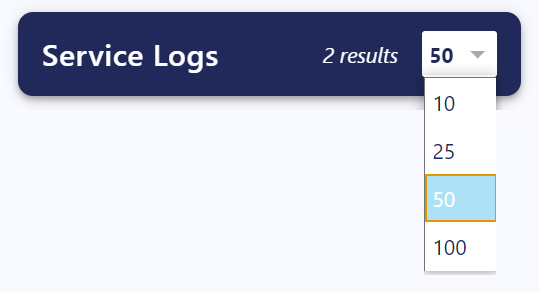
- To view a longer search results list, select the Service Logs results drop-down list. Select 10, 25, 50, or 100 to designate the maximum number of records displayed per page. Use the arrows at the bottom of the window to access the previous or next page.
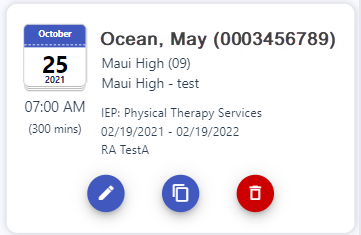
- Select a record to view the service log details.
Edit a service log
As a provider, you can only edit your own service logs. Therefore, if you don’t have edit access to a service log, the edit, copy, and delete icons are not shown. However, you can still select a record to display a read-only summary of the student’s service log.
To edit an existing service log, follow these steps:
- Search for the student or service log you want to change (refer to Search for a service log for instructions).
- Select the Edit icon to open the Edit Service Log window. Note that all changes are tracked and timestamped.
- Edit the fields as needed, then select Save and Submit.
If you notice any error in student information, please advise the student’s school administration of the error.
Approve a service log (supervisors only)
Supervisors can approve a service log by searching for the service log and selecting the Edit icon (refer to Edit a service log for instructions).
To approve a service log, follow these steps:
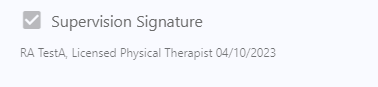
- Scroll down to the bottom of the service log, then select the Supervision Signature checkbox. Your username and PT credential and today’s date appear as your digital signature. Note that this checkbox is read-only for providers without PT credentials who need their service logs approved.
- Select Save, then Submit.
- The approved service log now includes a green checkmark.

Copy a service log
Select the Copy button to create a duplicate of the student’s service log. This simplifies data entry when creating a similar service log. Note that the Service Date is cleared and must be manually entered in the copied log.
Delete a service log
If you enter a service log by mistake, you can delete the service log by searching for the log and selecting the Delete icon.
Note that deleted service logs cannot be recovered. Therefore, if you delete a service log by mistake, you need to recreate the log (refer to Create a service log for instructions).
Log out of the app
To log out of the app, select the User Menu, then Logout.
Have questions?
Browse through the PT Service Log Frequently Asked Questions or contact the DOE help desk.